Clean it up, then save yourself some time
Adjust images and organise a private creative library.
Explore an adjustment, compare before/after, then Reset.
In this lesson 2 steps + optional extras
Background cleanup offers erase and restore brushes. Adjust brush size and softness, zoom in, and undo a stroke if an edge disappears.
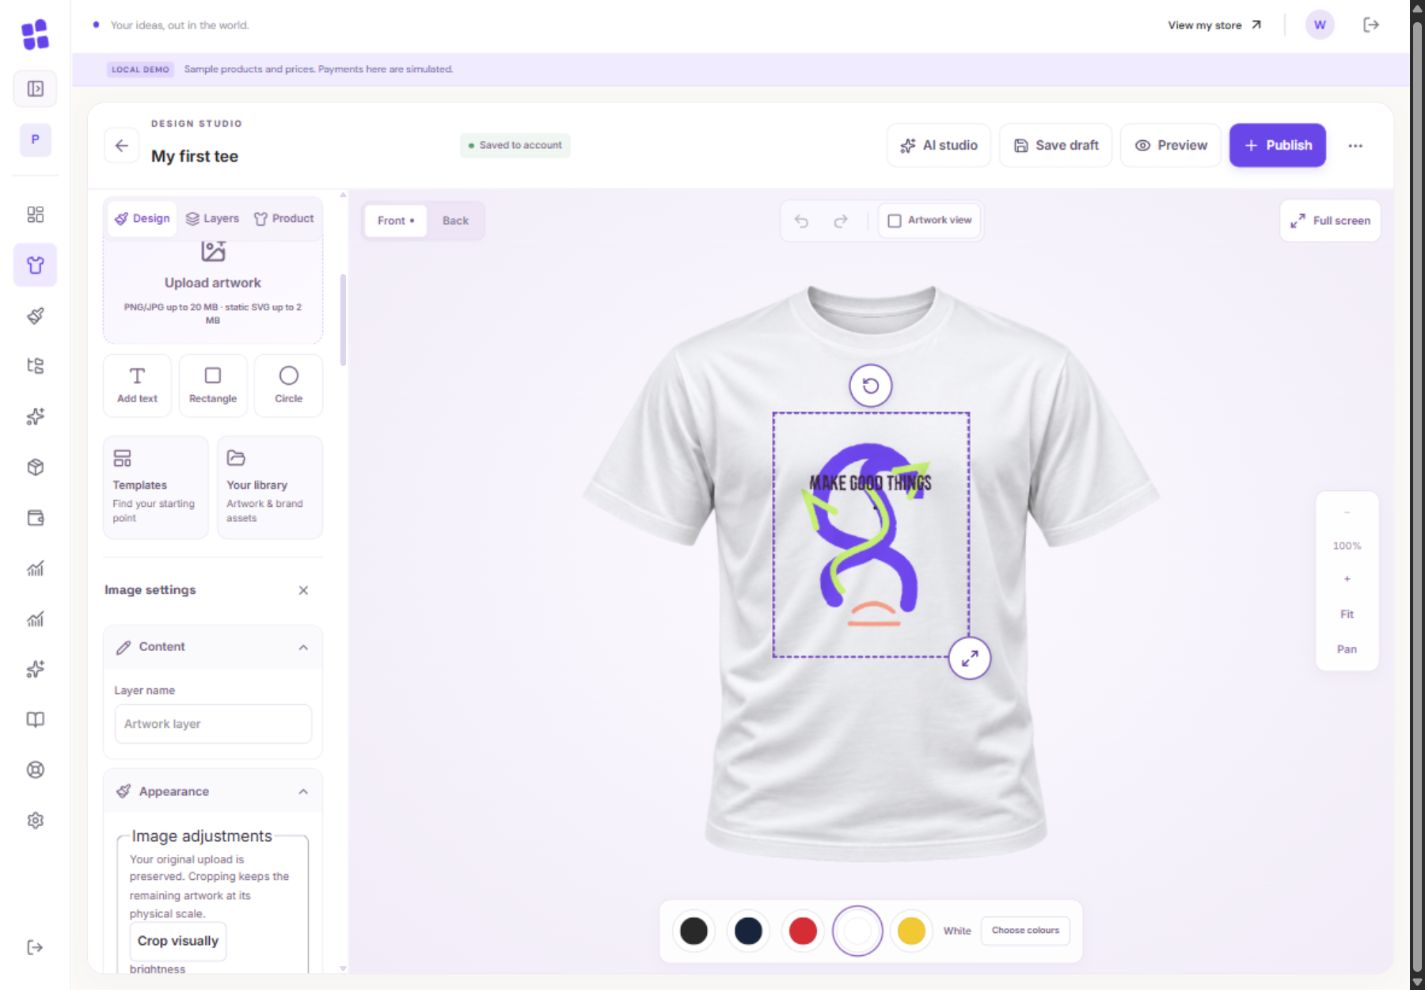
- 1Crop without replacing your original upload.
What you should seeA small erased area can be restored or undone.
Apply a successful cleanup preview to create a new asset while keeping the original. Do not mistake a failed preview for a finished cut-out.
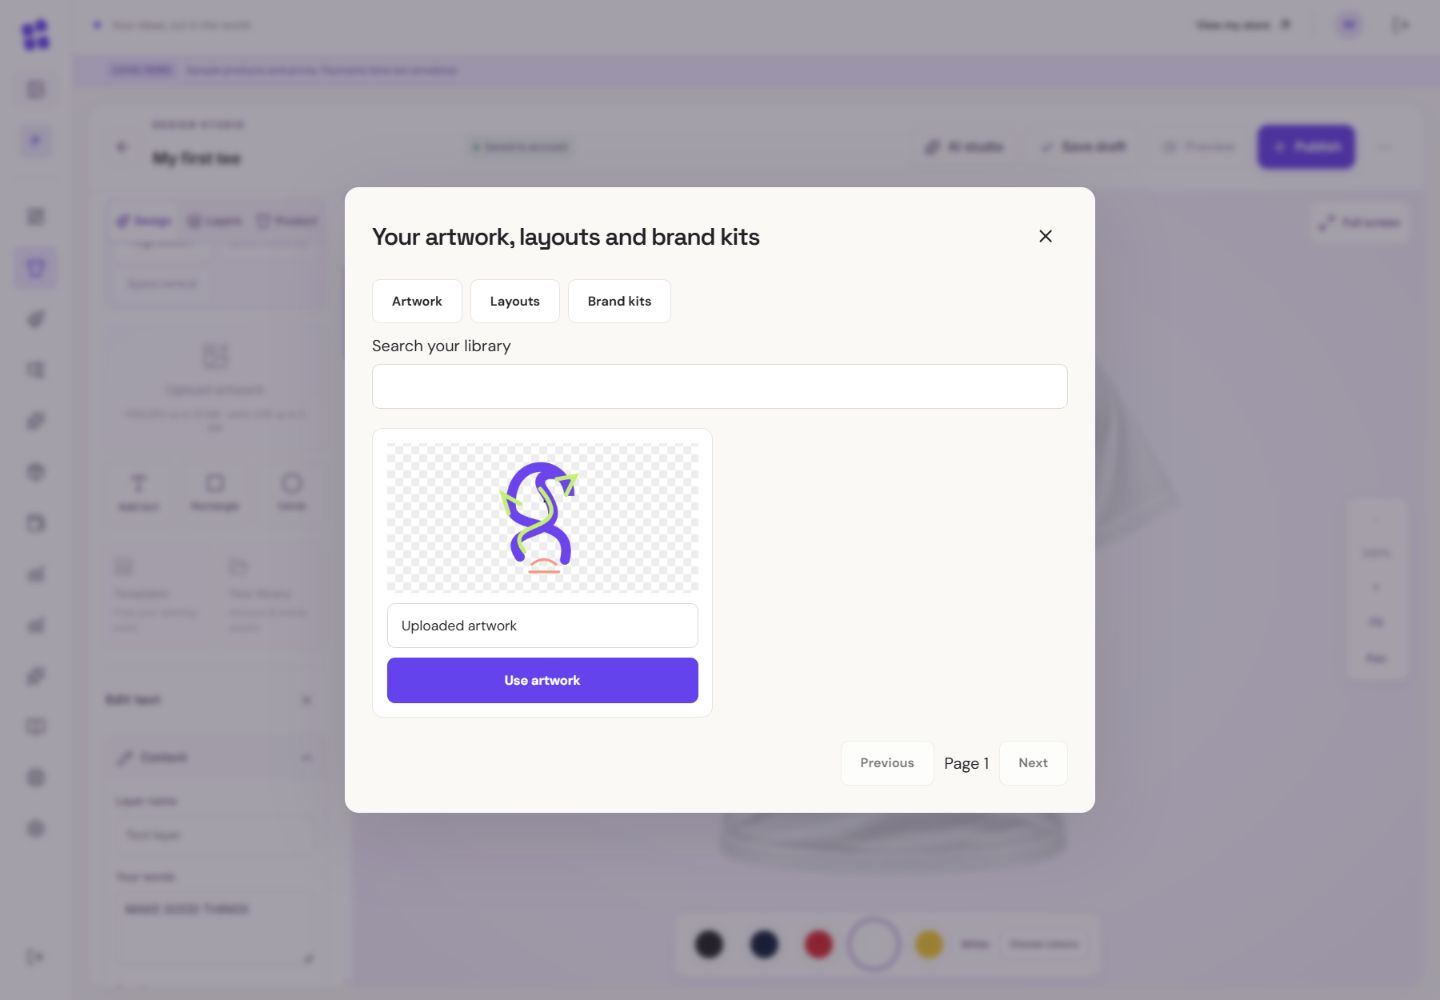
- 1Search your uploads, layouts and saved brand kits.
- 2Insert an existing upload without generating a new image.
What you should seeThe successful cut-out becomes a separate asset.
Go further 4 optional topics
You have the core task. Explore these extra tools whenever you need them.
Select an image and open its appearance tools. Crop, flip, brightness, contrast, saturation, sharpening and tint use an editable recipe; Reset returns to the source.
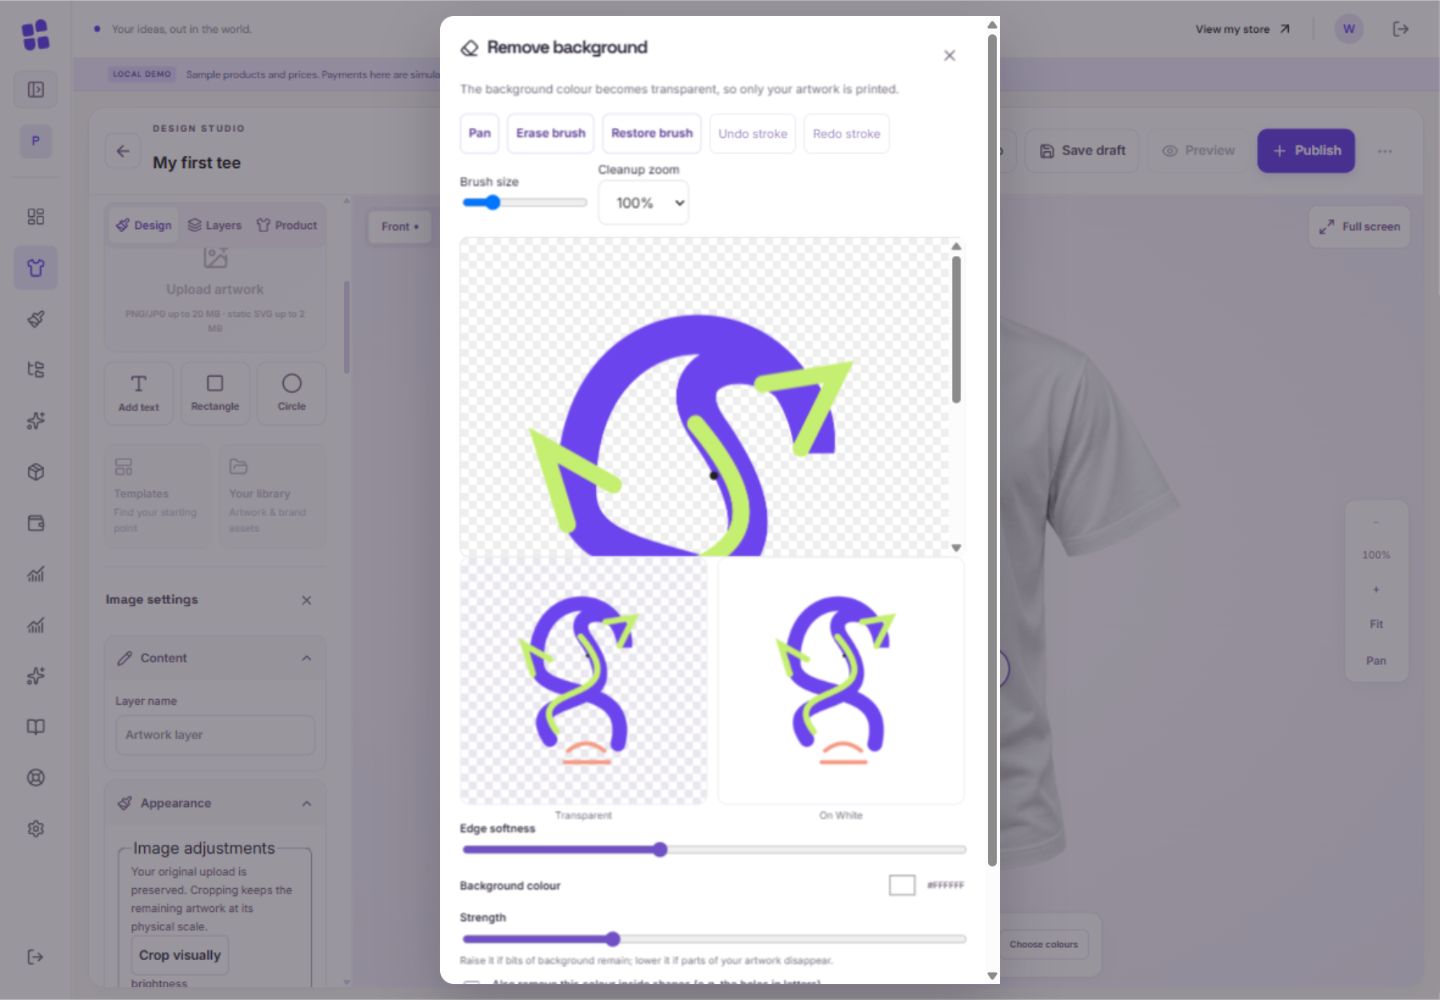
- 1Erase the remaining background a little at a time.
- 2Bring back artwork you removed by accident.
- 3Check the edge on transparency and the chosen shirt colour.
What you should seeThe original upload is preserved while adjustments stay editable.
Your library holds your artwork, cut-outs and saved layouts. Name and search them, then explicitly choose what to insert.
What you should seeYou can find and explicitly insert a named asset.
Save favourite fonts, brand colours and logos for reuse. Apply brand changes deliberately; they should not unexpectedly replace uploaded artwork.
What you should seeOnly the brand choices you apply change the design.
When reusing a layout, check physical dimensions and fit-to-area warnings. Sharpening and enlargement cannot recreate missing source detail.
What you should seeYou can check the reused layout against the current print area.
Give it a try.
Explore an adjustment, compare before/after, then Reset.
Open the designer, then select an image Opens separately. Paid and destructive actions are never required to complete a lesson.The cleanup brush erased part of your art. What should you try?
Optional. No grades, no locked lessons.Ready to mark this one complete?
You choose when you have learned enough. No quiz score or business action is required.
Loading progress…
Sign in to save progress across devices